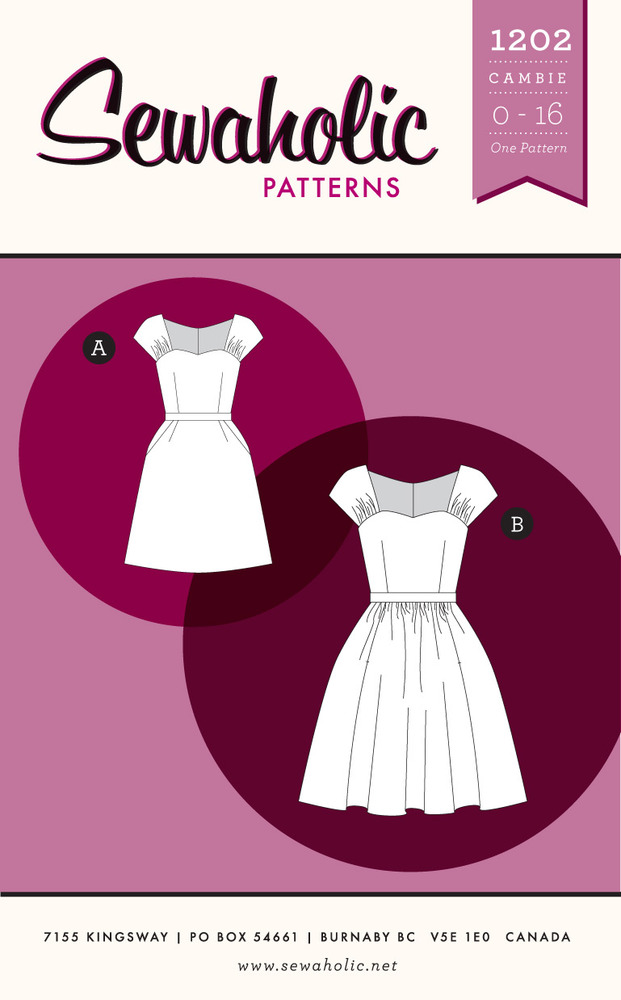
As we have seen last time, I had bought gorgeous, buttery soft fabric, so now I was ready to cut into it. When I first mentioned the cosplay idea on here, Meike of Schnitterling suggested to use the Cambie pattern as a template for the Pocahontas dress. This really was a great idea! I had bought it at her shop early last year, but never came around to sewing it.
I tried to take pictures of my sewing process, but I was in quite a time crunch. My good sewing machine is back at home – I only have my Grandma’s old sewing machine in Heidelberg, and at that point wasn’t sure if she even worked still. That’s why I wanted to get as far as possible with the dress on the weekend I spent at home. Sadly that means that I sometimes forgot to take pictures of the individual steps in the process, but I hope I’ll be able to describe them in an understandable way!
The Cambie itself is a great pattern and a pleasure to sew; plus, since that might be of interest to my German readers, Meike has provided a German translation for the instructions. It was very helpful for me, actually, because I learned most sewing terms in German (as opposed to knitting, where I actually have difficulties with instructions in my own native tongue :D).
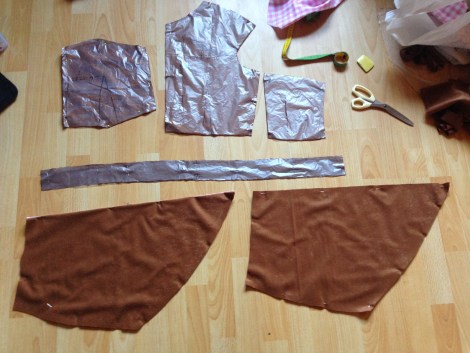
That said, it was a bit weird to use a pattern for the first time only to make such drastic changes to it. I had to change the form of the skirt and eliminate one sleeve. I first traced the pattern parts on transparent paper and cut out those parts I wouldn’t have to alter. I decided to leave out the pockets to avoid unnecessary time-consuming work, and filled in the lines in the front skirt pattern freehand. Then I used leftover fabric from my stash to cut out the skirt and the right bodice back. This was done because a) I plan to make a “normal” Cambie soon and consequently didn’t want to make any changes on the actual pattern, and b) because I didn’t want to ruin my fabric in case I didn’t like my changes. You can see the leftover fabric in the upper right corner, it’s the pink checkerboard fabric.
As you can see, I decided I’d cut out the waistband piece in the darker fabric instead of sewing an extra belt. I thought it’d be more efficient that way!
Below you can see the end result of two days of sewing. I was very pleased with the overall look of it. The bodice turned out very loose, however. Firstly I’d probably could have gone down a dress size, but mostly I think it’s because I eliminated the second sleeve and had to cut out quite a chunk of the right bodice back as a consequence. (No pictures, sorry, but I’ll try to take some shortly.) After all, it would’ve been puzzling to just have that bodice go up to the neck without a sleeve to connect it to the front … Unfortunately, that also meant gravity would do its work! The neckline had a tendency to plunge down deeply … 😉 Obviously I would have to change that. Plus, there was still the matter of the fringe! I’ll tell you all about that one next time … and of course there’ll be pictures of the finished dress!


11 responses to “Pocahontas Cosplay – Sewing Part I”
It looks good! Perhaps you could bone the bodice, that should help it to stay up…
Thank you! Oh, that’s a really good idea, I wish I had written about this problem here sooner … The convention starts on Saturday. I ended up just taking in the side seams a bit. It’s not very elegant, but it fits better now!
Oh, aren’t you adorable!
Aw, thank you!
Lucky you could find such suitable fabric! Good job!
Thank you! Today’s the big day; I hope nothing happens to the cosplay when I wear it at the convention. 🙂
I’m so glad the cambie pattern worked so well. I just saw your finished costume on instagram! Sooooo awesome! 😀
Thank you! The Cambie was perfect for the cosplay, so thanks so much for the tip! Once I have the pictures from our photoshoot, I’m going to make a proper FO post. 🙂
[…] Cosplay: Pocahontas […]
[…] as I had done something new, but real life tends to get in the way of such plans … Anyways, she suggested to bone the bodice, which I might still try to do if there’s an occasion to wear this dress a second […]
[…] Cambie pattern for Pocahontas’ dress. I’ve written about the modification process here and here. I’m happy with the result, even though the lack of the brutally chopped off right […]